It is no secret to any of you that I adore kitchen classics; cast iron pans and Mason jars are at the top of the list. When Ball contacted me to see if I wanted to do a giveaway with them for the inaugural International Can-It-Forward Day I was ALL OVER THAT. This is stuff I use in my kitchen every single day, and have for years before I even started a blog.
The info on Can-It-Forward day:
On Saturday August 16, Jarden Home Brands will host the first annual International Can-It-Forward Day with special guest renowned chef and Bravo’s Top Chef judge, Hugh Acheson! A day to celebrate home canning, International Can-It-Forward Day allows food enthusiasts to connect via a variety of online and in-person activities. New and experienced canners can participate in a live webcast on http://www.frespreserving.com, taking place on ground in Brooklyn Borough Hall Farmers Market, filled with canning demos where viewer questions will be answered in real-time by Chef Acheson and other experts while they learn the most popular (and delicious) home canning recipes. Twenty five farmers markets across the country will also be hosting Can-It-Forward Day celebrations!
In addition to the canning demos, there will also be segments on crafting, herb gardening and the brand’s new drinkware line! We will also be attempting a Guinness World Record for the World’s Largest Mason Jar Mosaic!
Here is the ridiculously awesome prize pack for the giveaway:
You can see my documented love for Mason jars here, and here’s another favorite food-in-a-jar, a recipe that’s sort of an amalgam of a few recipes I found online:
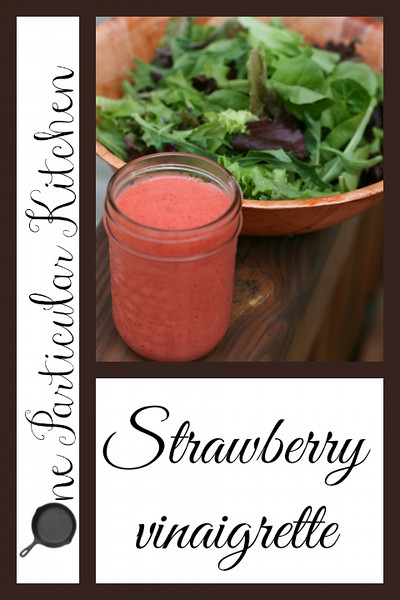
Strawberry vinaigrette
Ingredients
- 10 strawberries, hulled
- 1 lemon, juiced
- 4 tbsp sugar
- 1/4 tsp salt
- 2 tsp apple cider vinegar or balsamic vinegar
- 4 tbsp olive oil
Instructions
- Process the strawberries in a food processor until they’re pureed, then add lemon juice, sugar, and salt; process again until completely blended
- With the processor still running, add in the vinegar then oil in a steady stream until completely combined and thickened
I’m required at this point to tell you that Ball provided me with all these goodies to review at no charge, but for heaven’s sake y’all already know I love the stuff. Opinions are mine, and I’m not paid to say how much I adore them. I just do.
Giveaway closed! Thanks, y’all, and CONGRATS LEAH!

Want some???
Let’s make this easy: just leave a comment below telling me which item in the prize pack you’re most excited about, and what you’d use it for (or for what you would use it, in case my Aunt Jane is reading).
Want an extra entry? Pin this post and come back and leave an additional comment telling me you did.
I’ll use random.org to pick a winner after midnight on August 15, central time.
And go!


